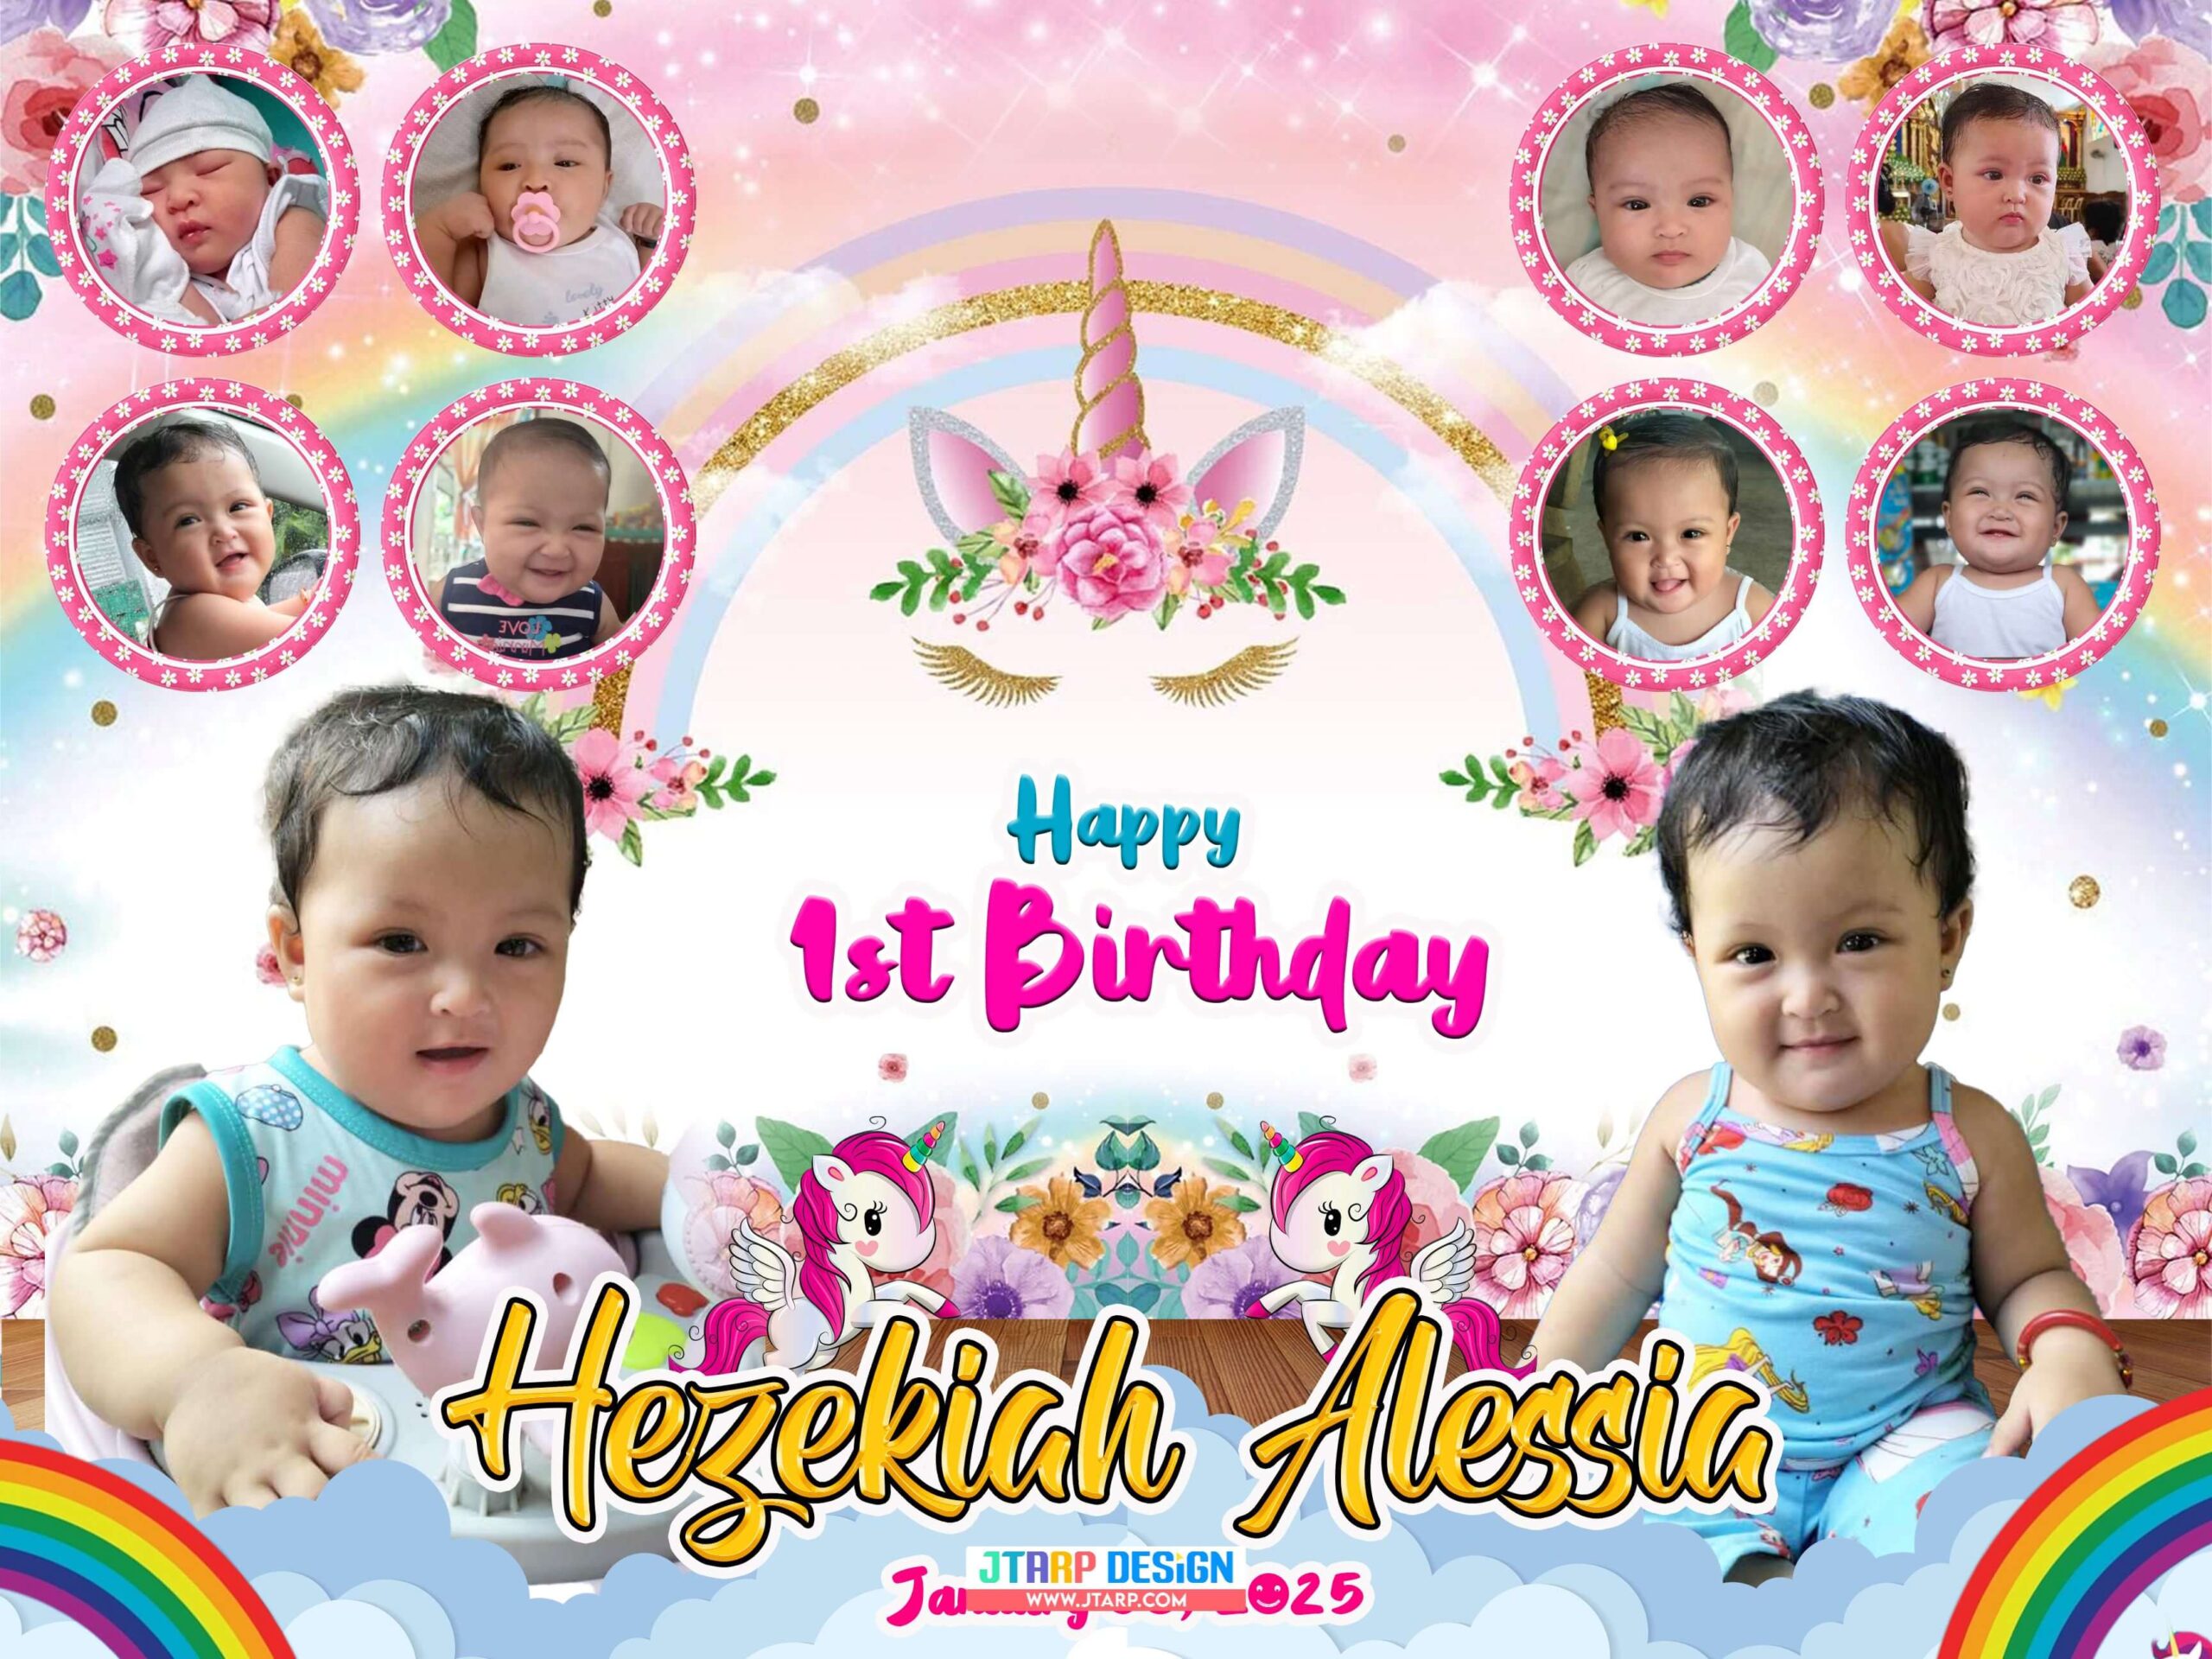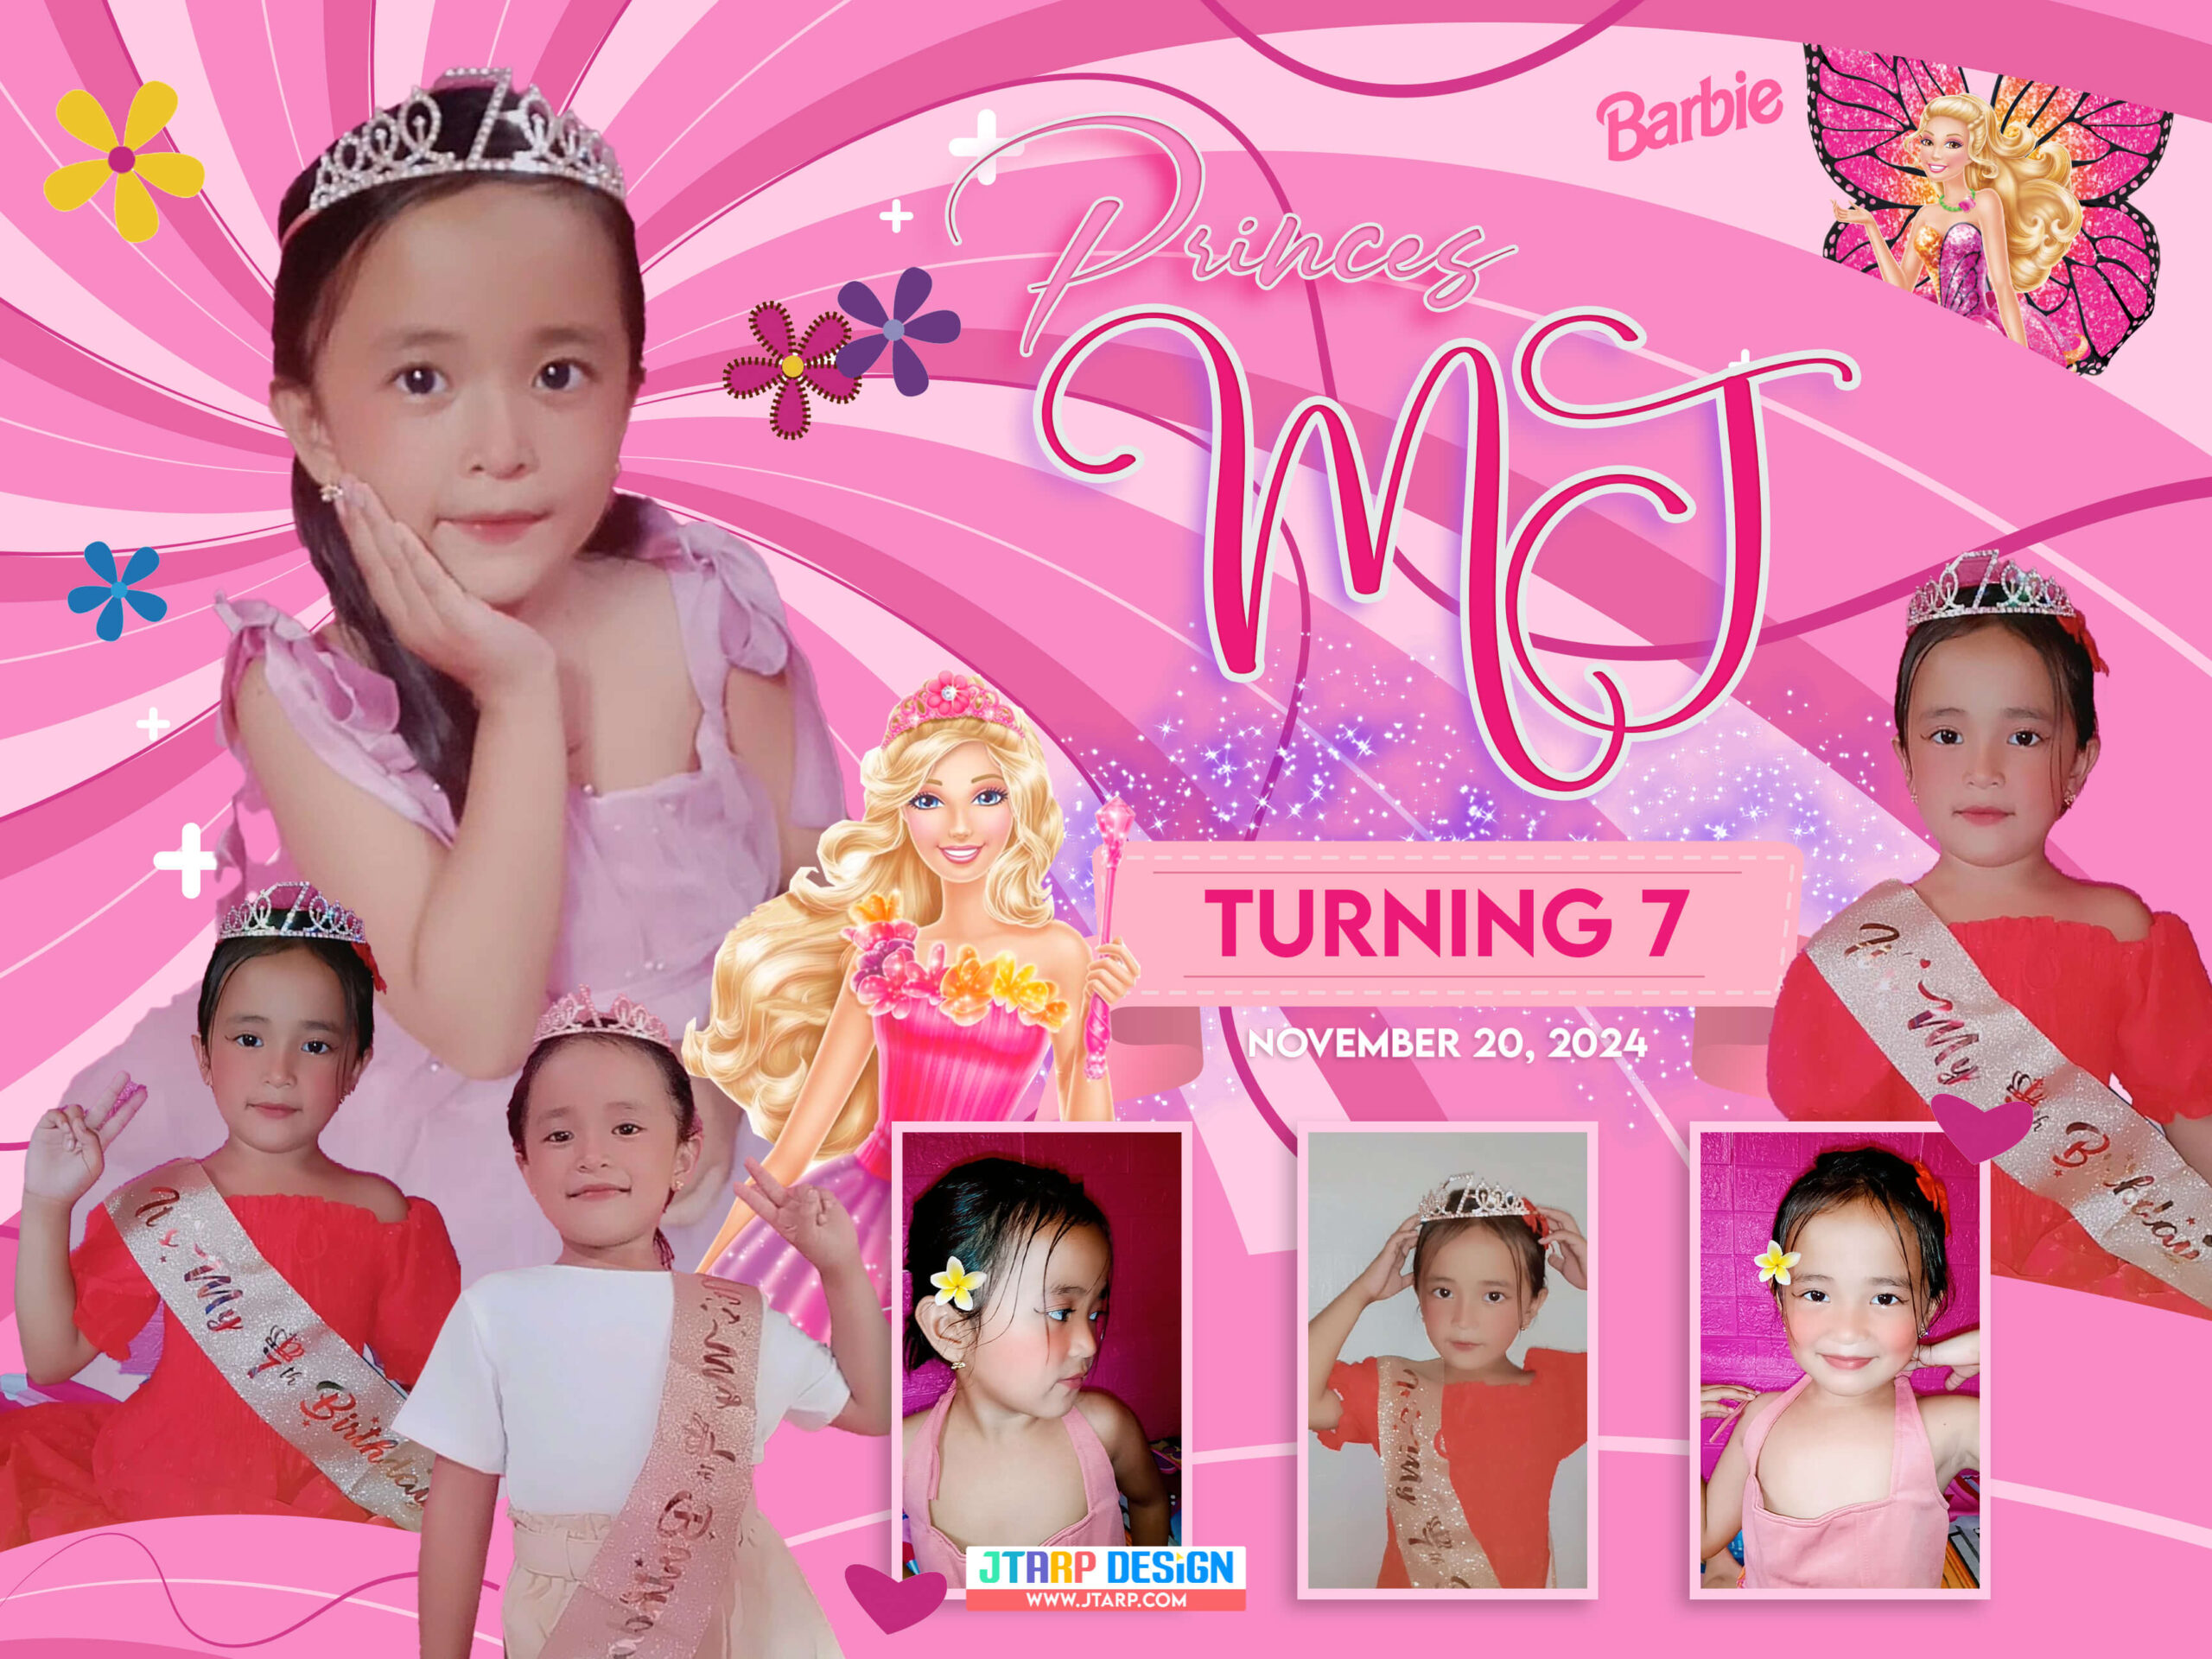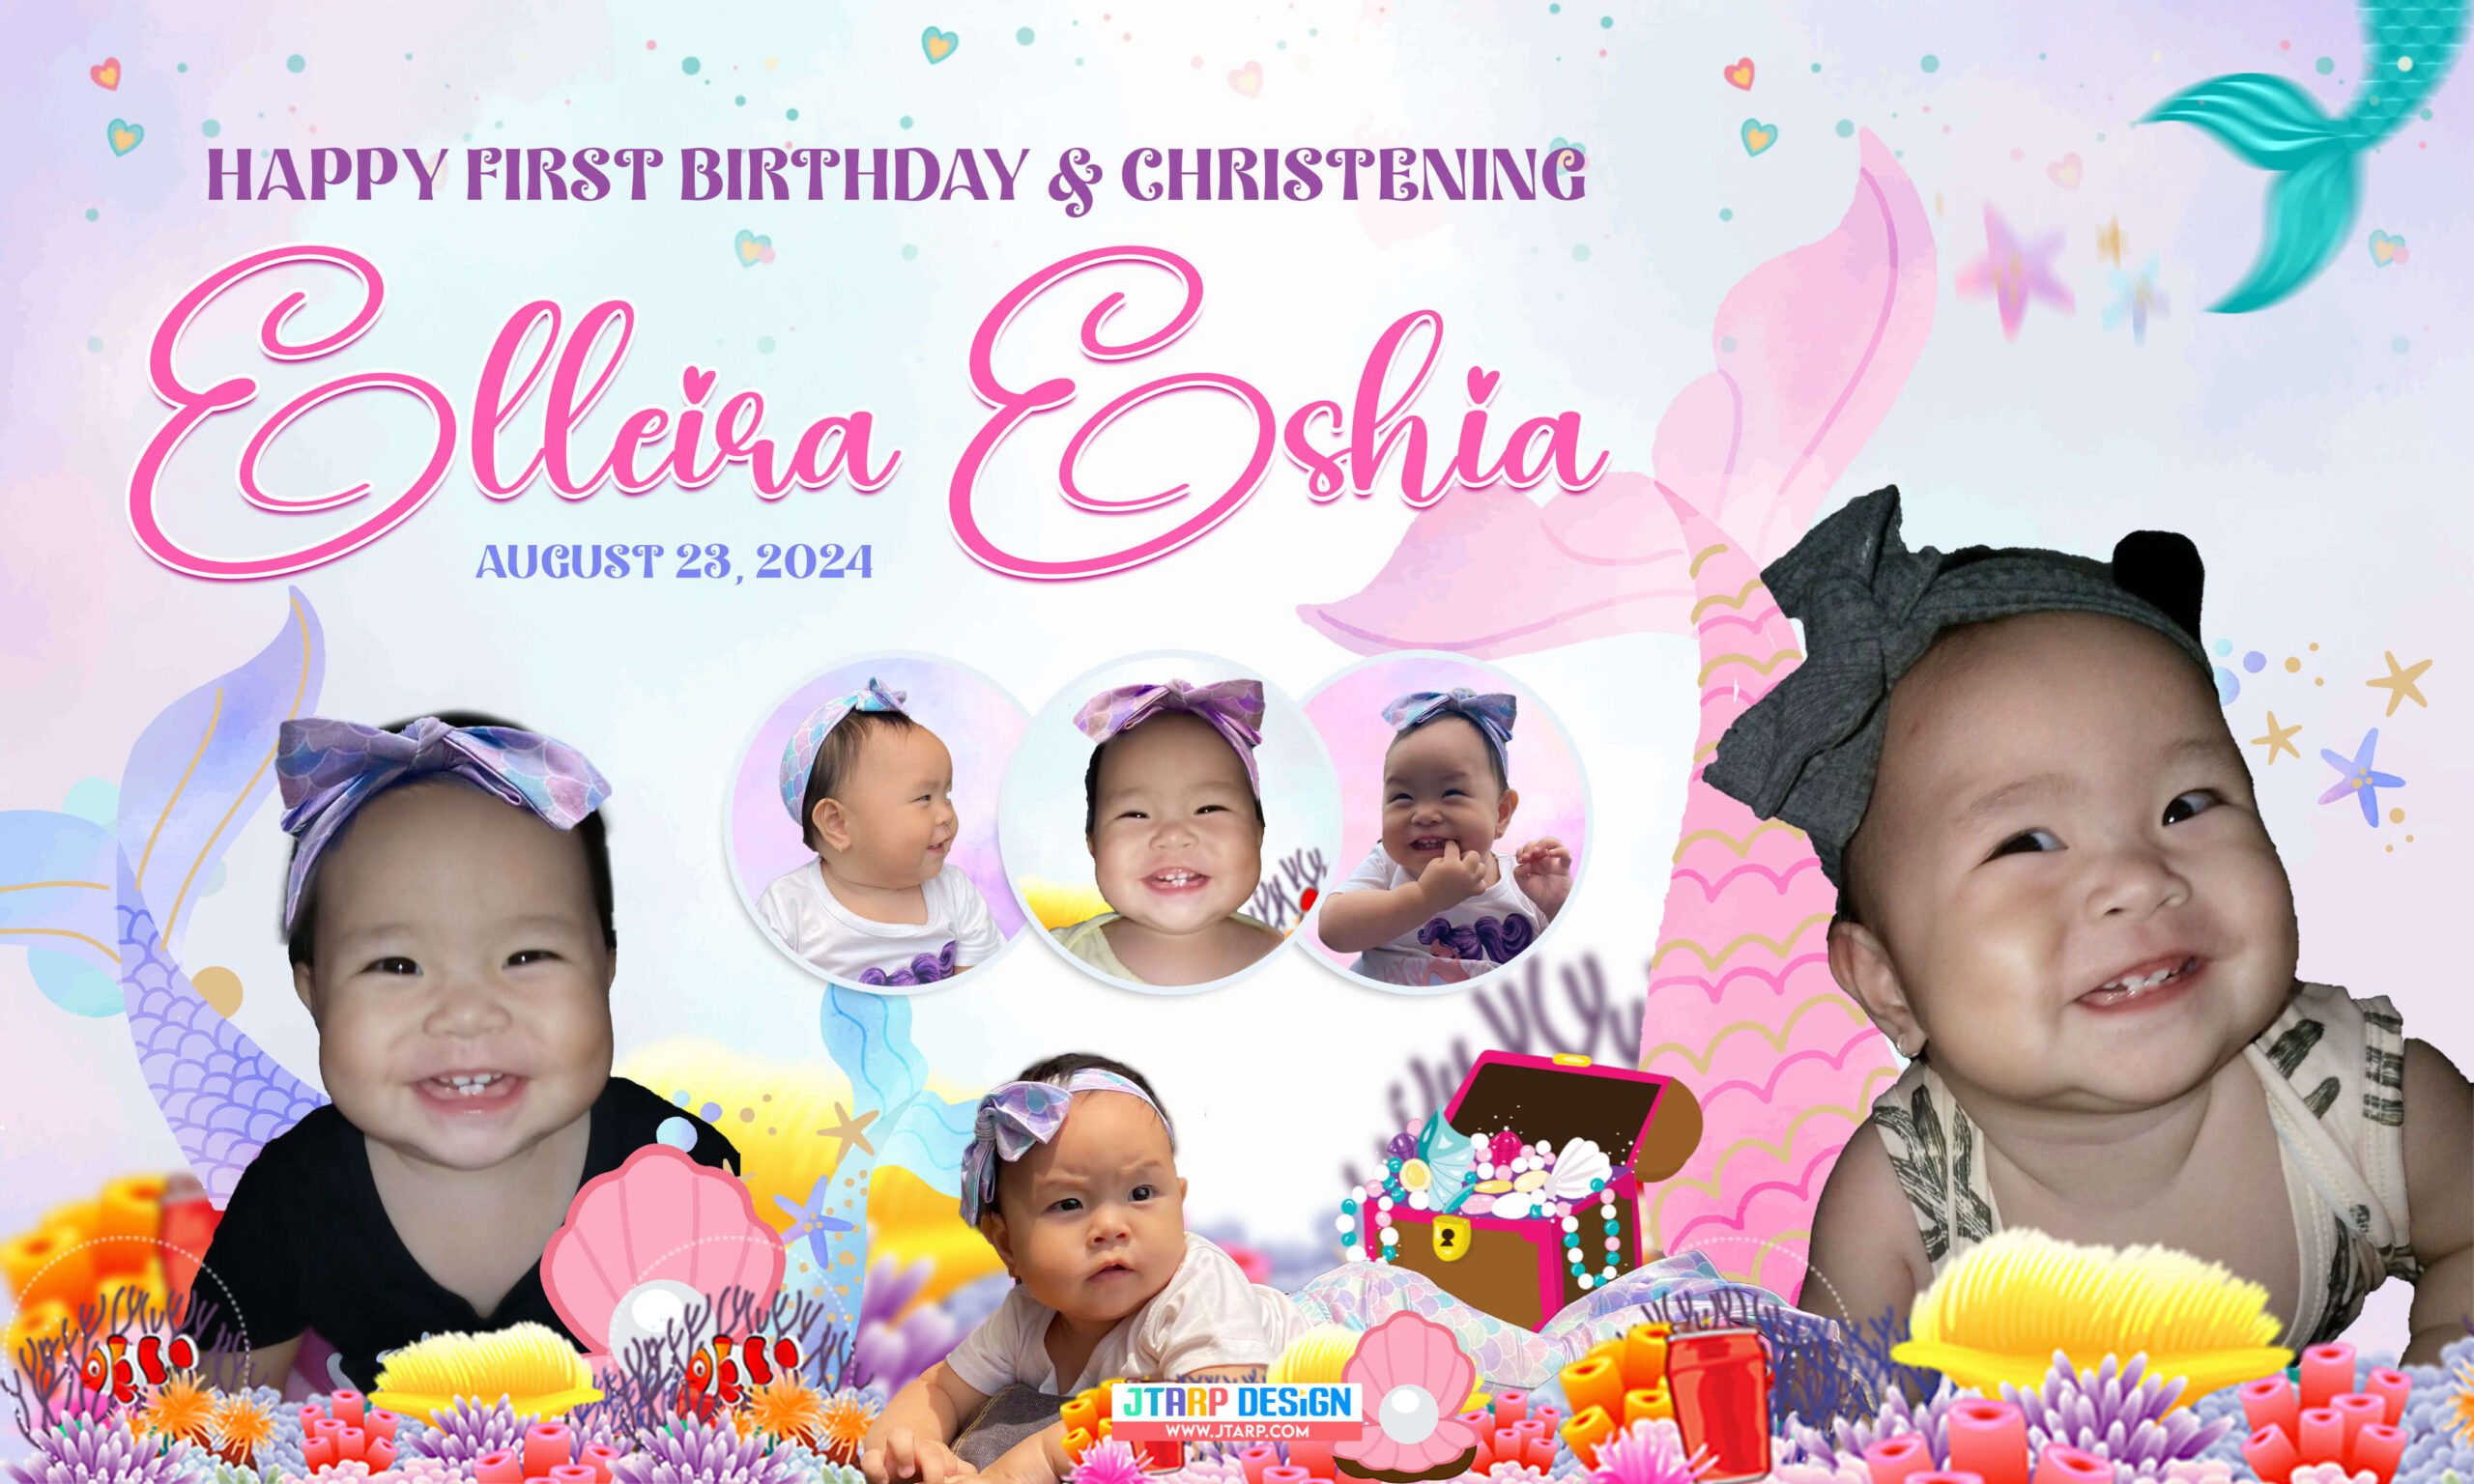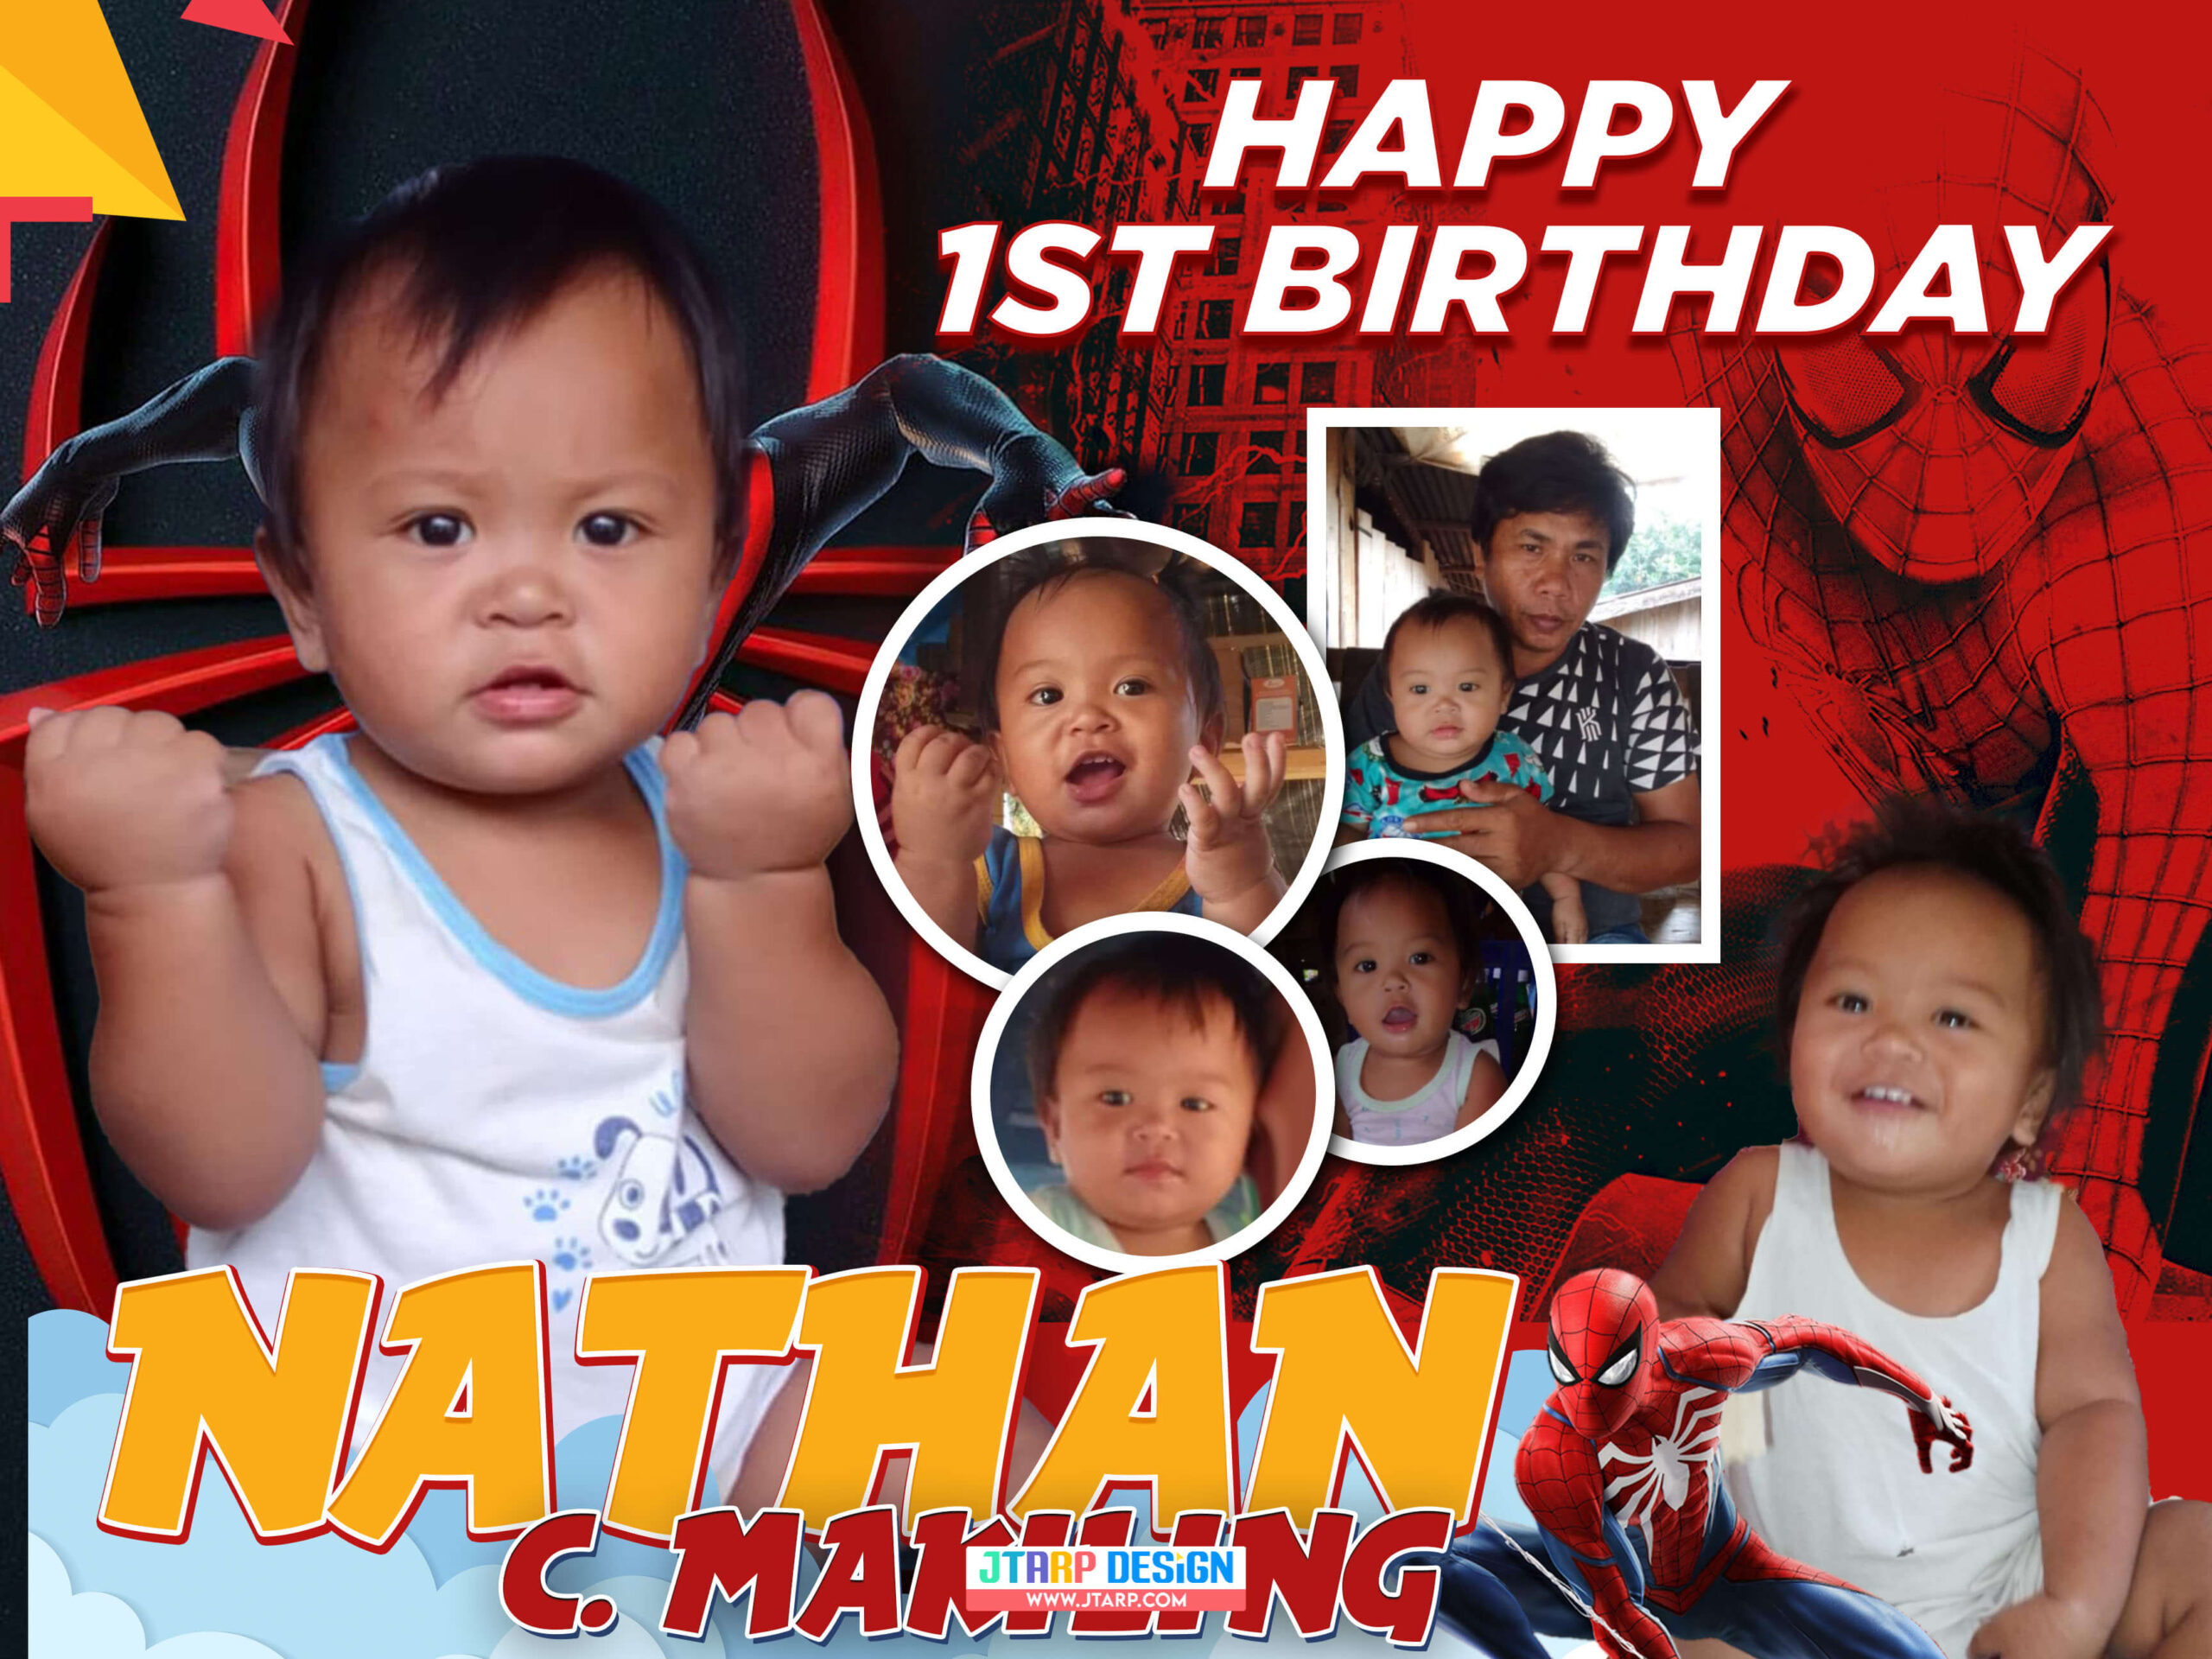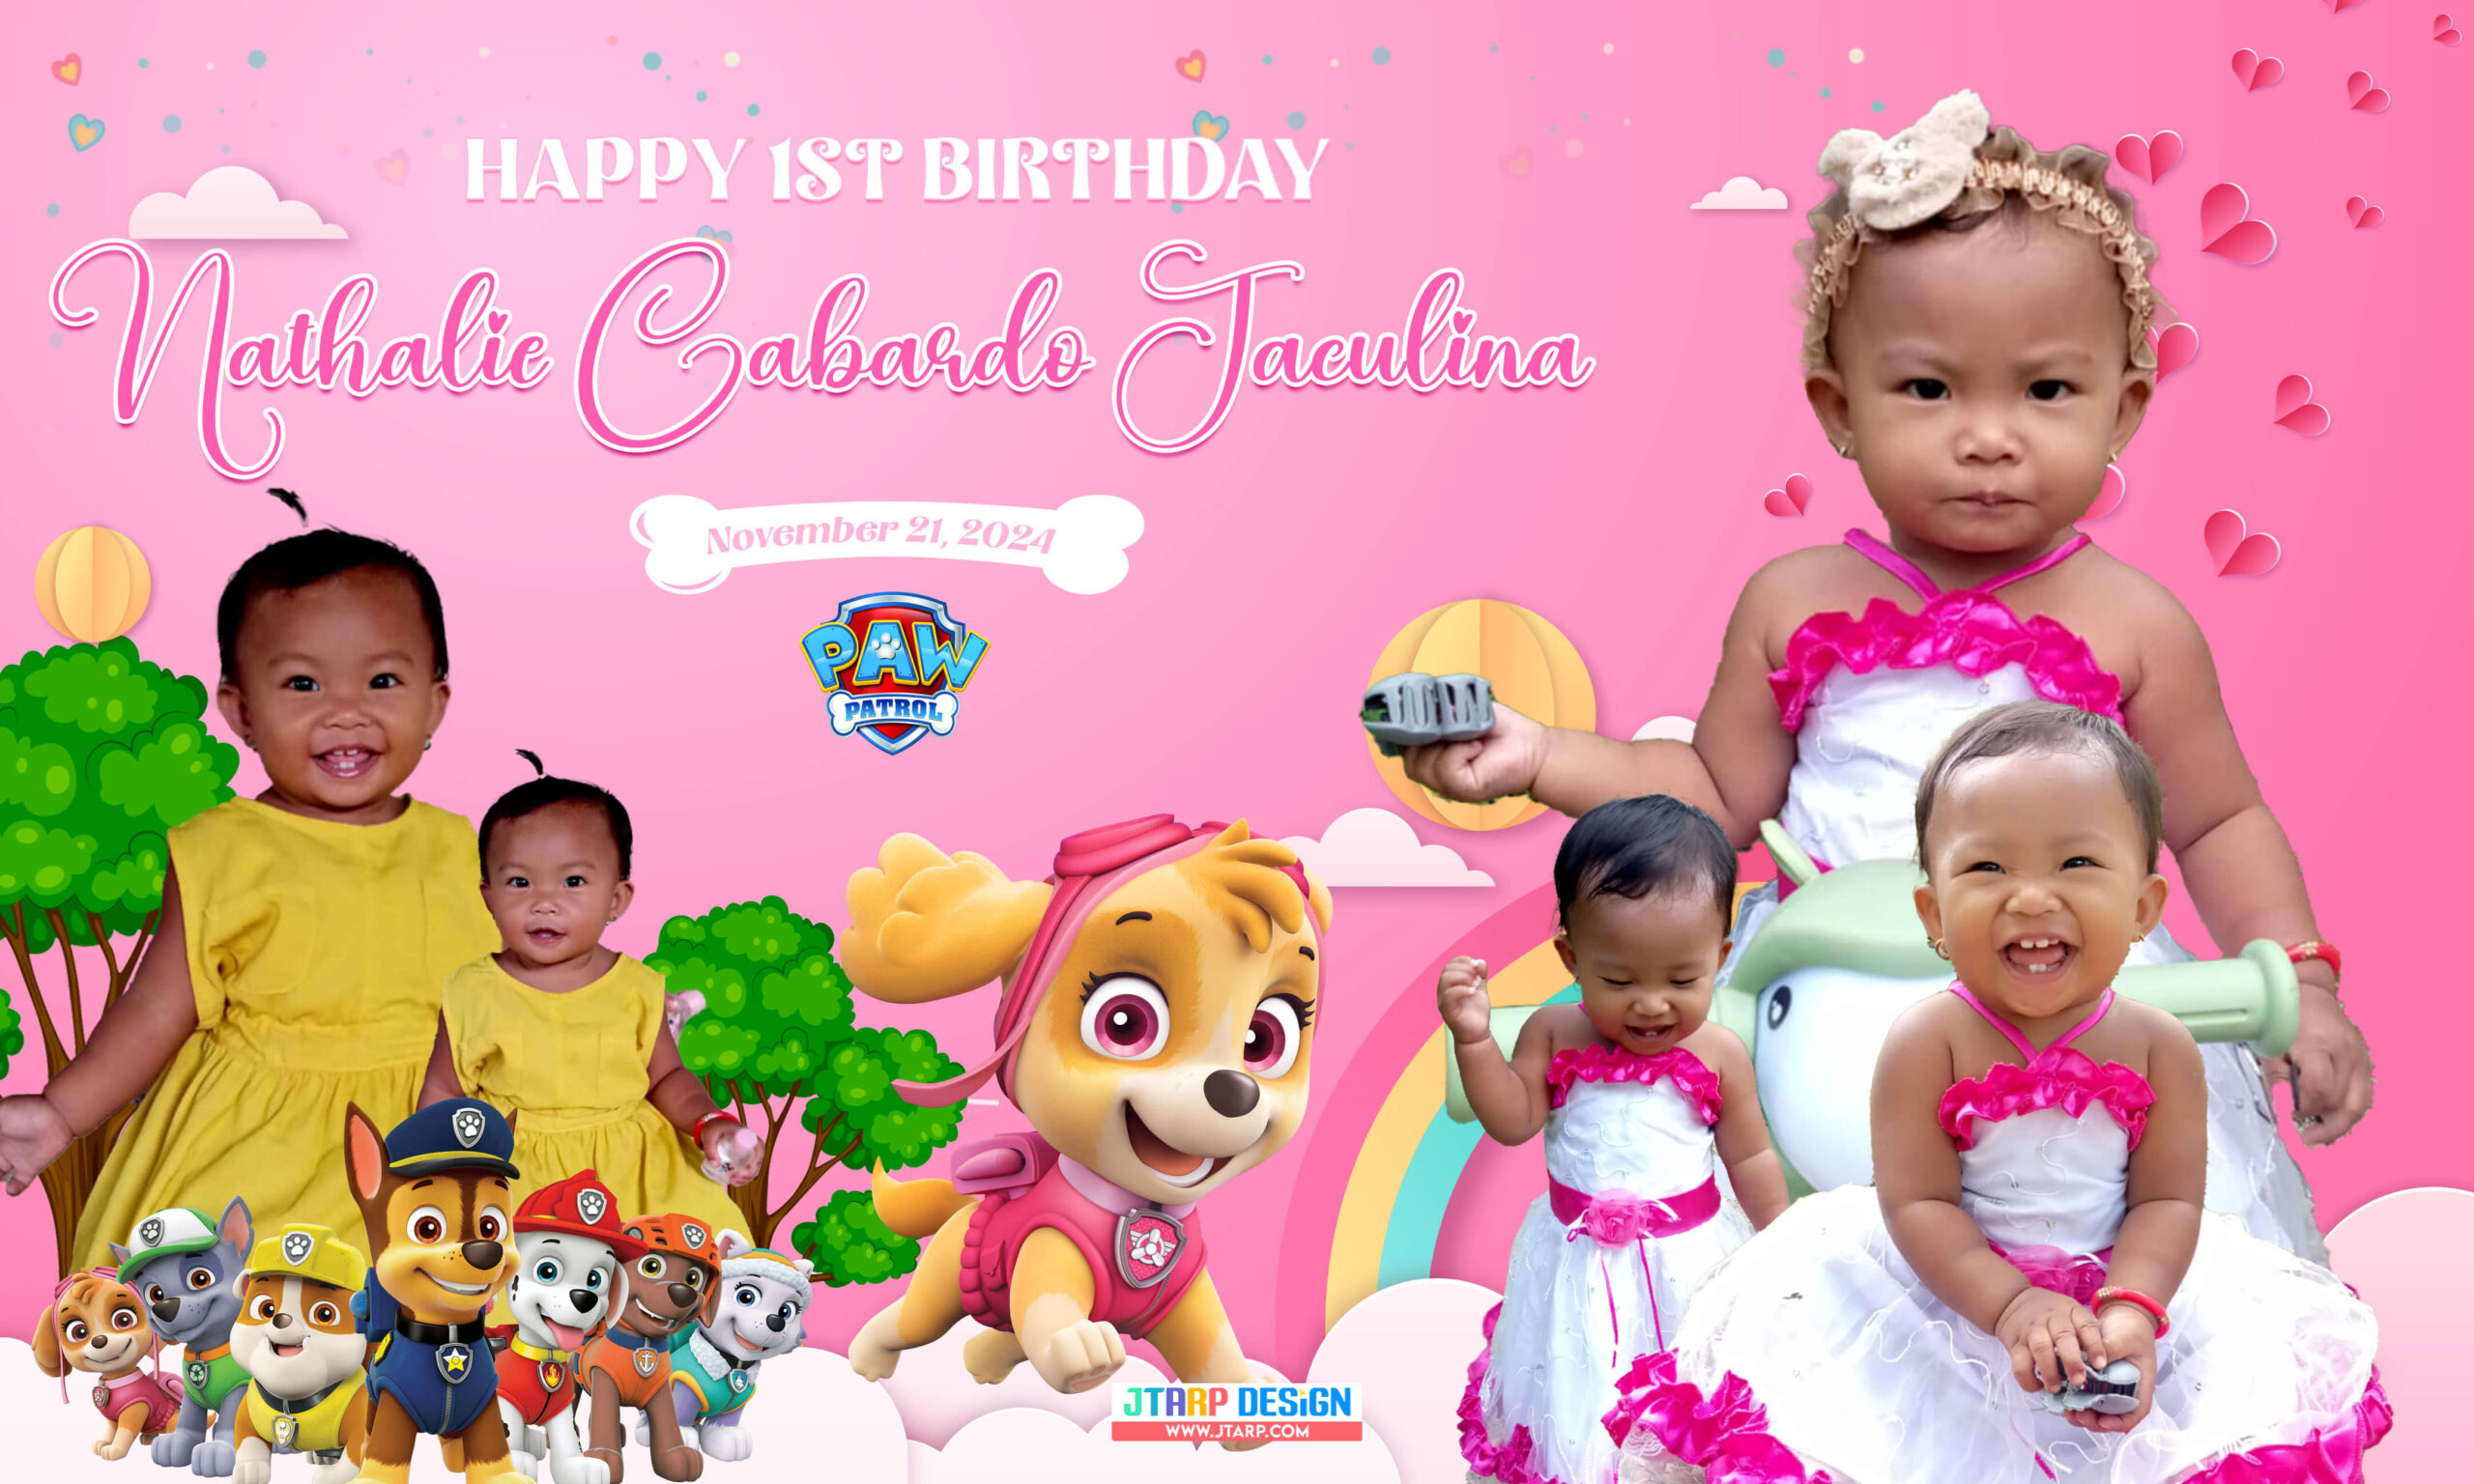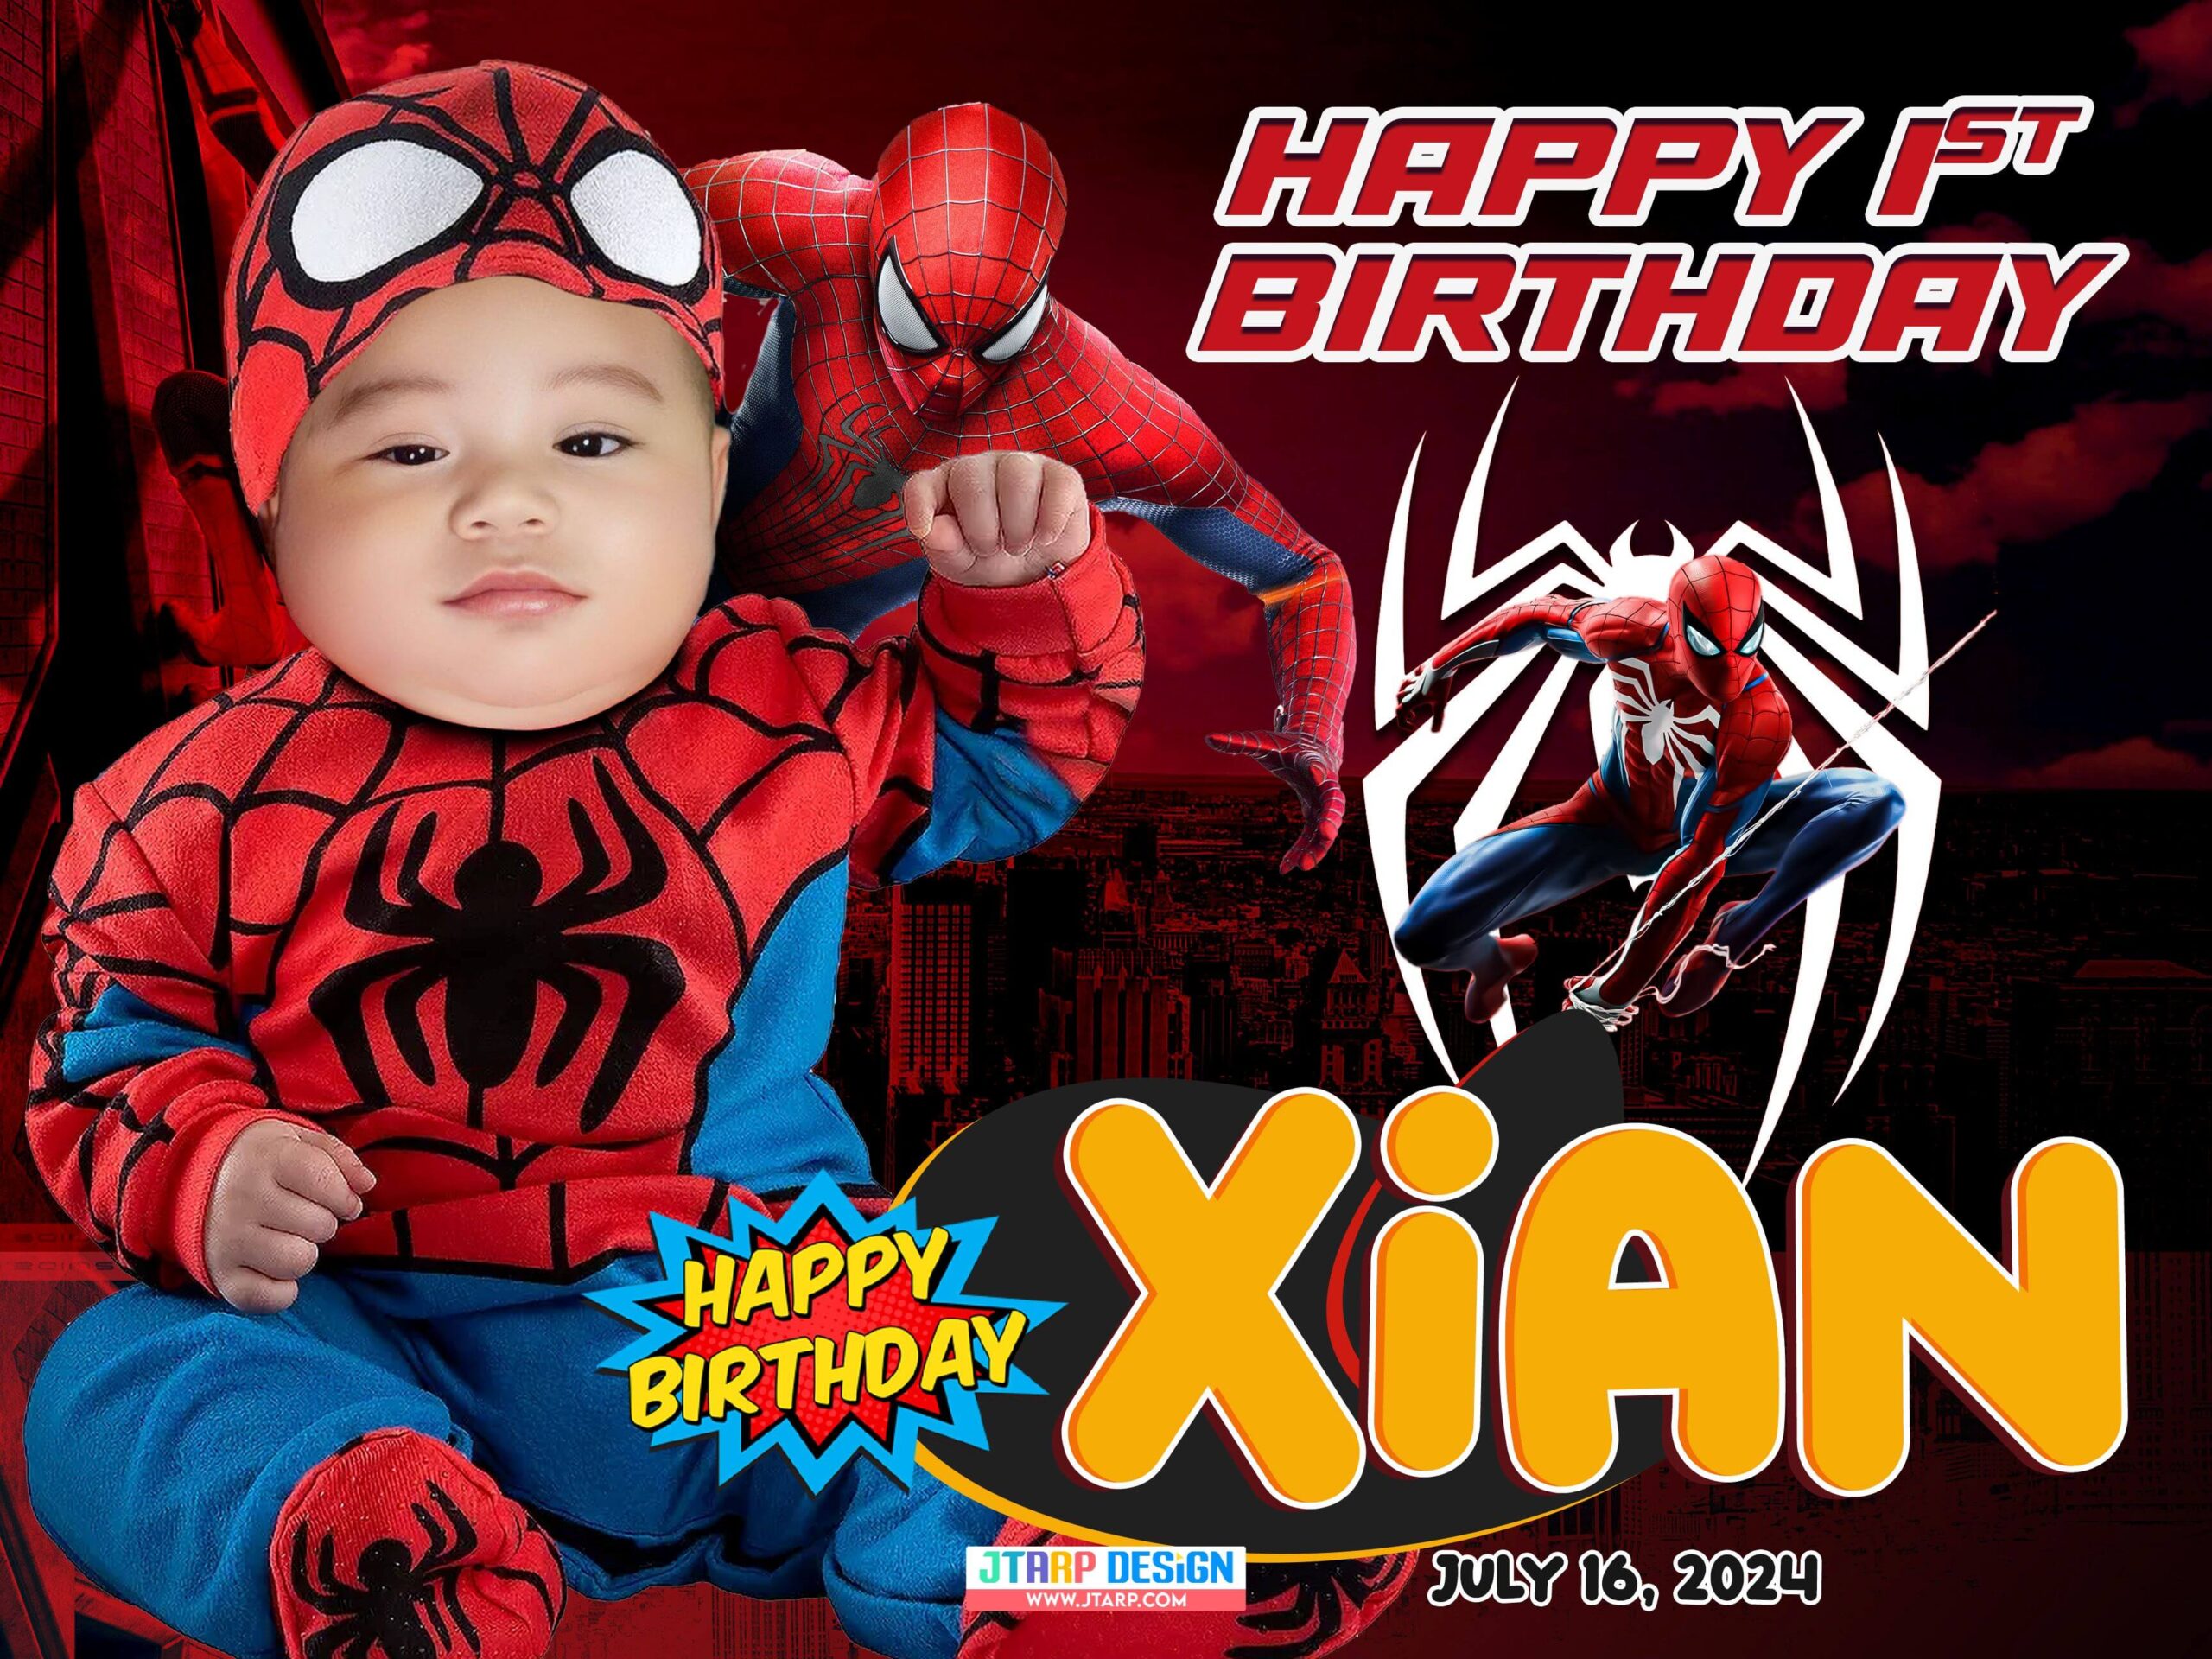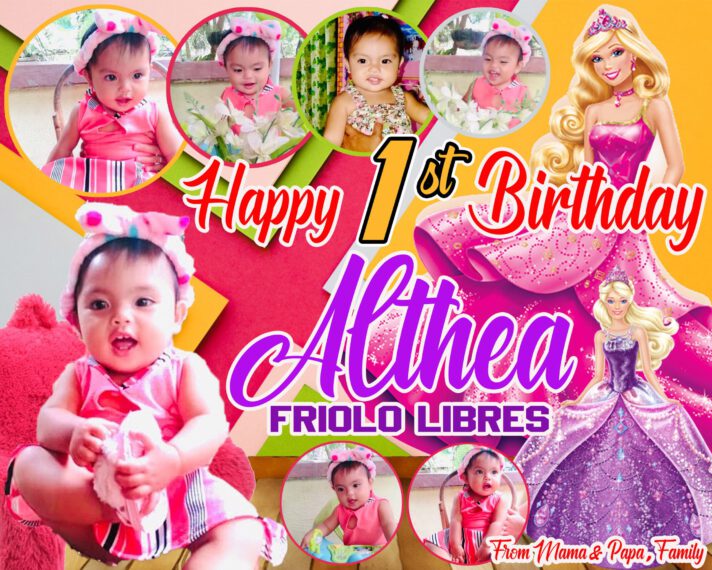
Hello, Today I am gonna share with you a 1st birthday Barbie Theme Tarpaulin Design. I hope you will like it
The size of this tarpaulin is 4 feet by 5 feet or 48 inches by 60 inches.
Tarpaulin Design

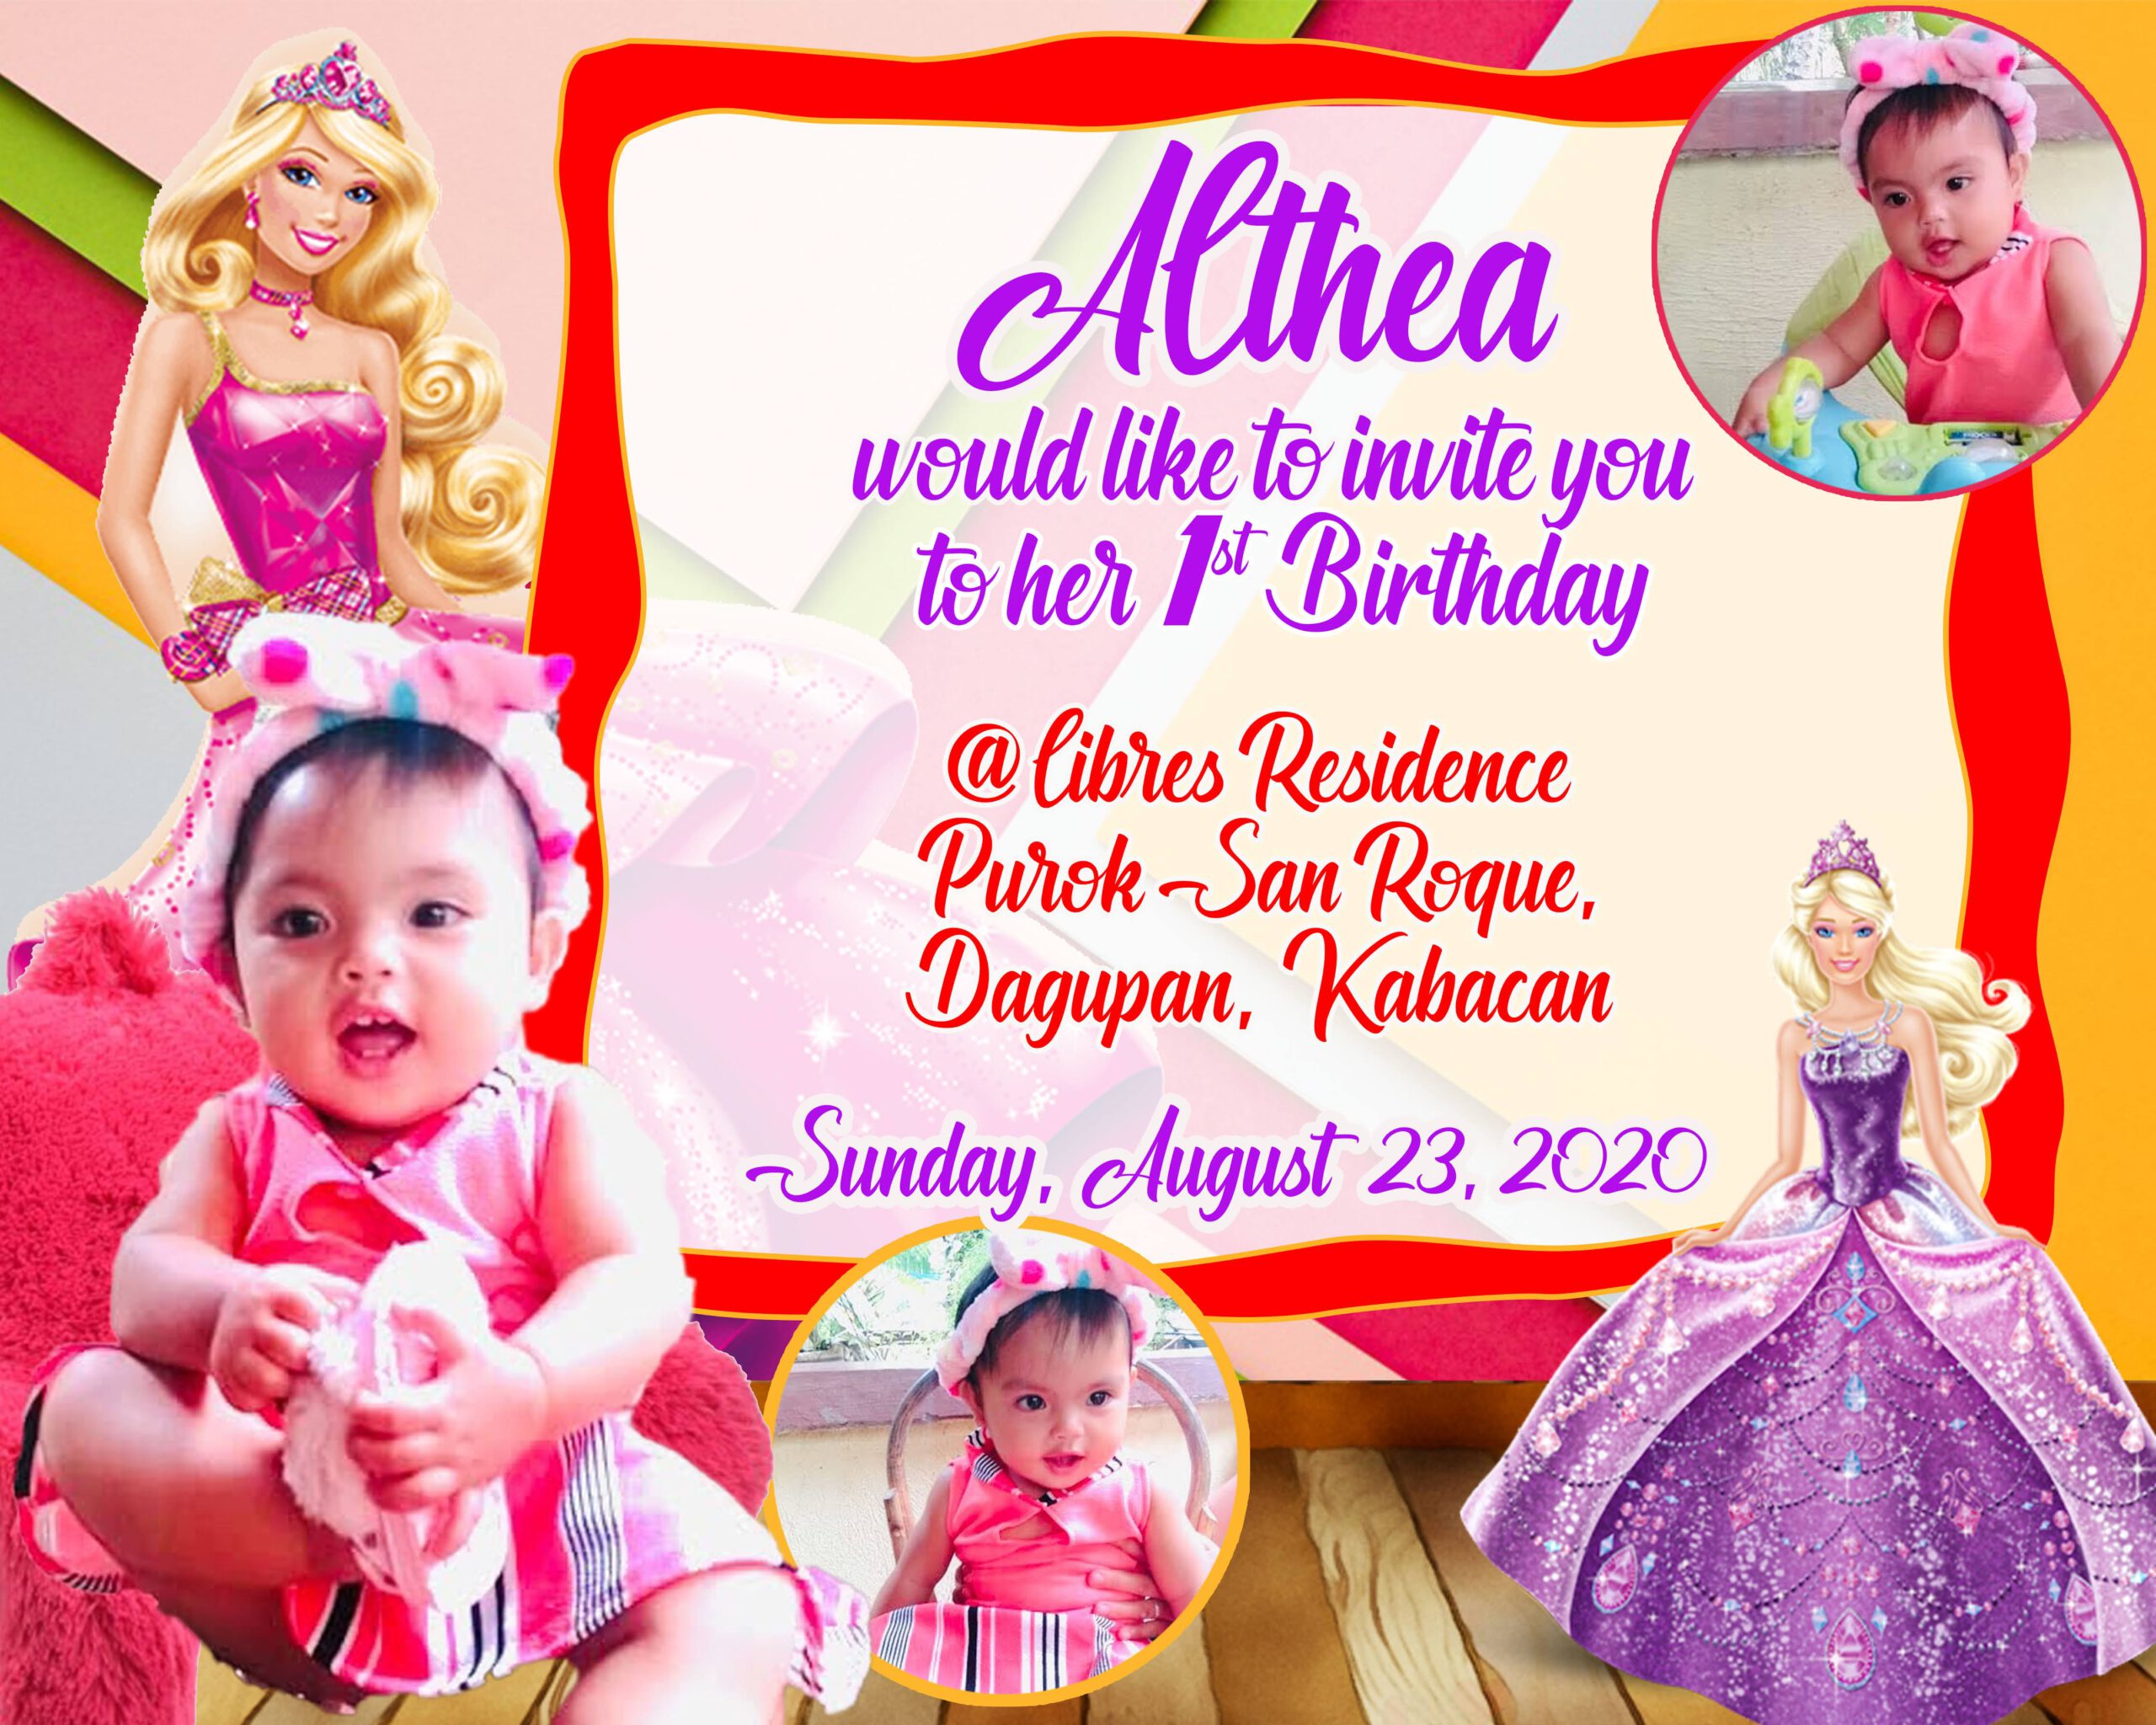
Invitation Design
You can alao have the Editable Psd File of this design. By just messaging to our Facebook Page, you can the link at the buttom of this post.
When I’m making designs, I always keep in mind that I need to love what I’m doing. I’m always happy with your work and give fashion to it.
I didn’t make it too soon. I always give time to think about the design.
If I don’t have an idea of how I’m going to start my design. I always read an article on how to make a design like this. And look at some templates or watch tutorial videos, in that way I gained more ideas. And in that way, I can imagine what my design would look like.
If you’re a Layout artist you must keep your Barbie tarpaulin design PSD files. So, you can have ideas for your future design.
If you don’t like this Barbie Tarpaulin Design. You choose from my past and new designs and templates here at the right side of the page. Or, you can create your own by just downloading some Barbie background in Google. So that you have a guide or a base template for your design.
Tips in Making a 1st Birthday Barbie Theme Tarpaulin Design
Search some images to your favorite search engine. Images that you want to add to your design.
After you gathered all the materials that you may use to design, you now start editing. But, you should always focus on creating a customized Barbie Theme Birthday Tarpaulin Design.
Steps in Making the 1st Birthday Barbie Theme Tarpaulin Design
Step 1: Install Photoshop
On your computer, 👩💻 you must install a photo editing software called Adobe Photoshop.
This application allows the user to edit, remodify, manipulate, and add effects to pictures to their desired designs.
You must learn first the way to use those basic tools so as for you to make more attractive ideas that you simply can use to your invitation.
You must also know and find out how to properly size your working layout for better results.
Step 2: Add Background
Add the desired background. Position your background image to your layout and you’ll also resize it to completely cover the whole page of the tarp.
Step 3: Add Celebrant Photos
Place all selected photos in your layout. Place it in the perfect location of the celebrant’s photos. You may place it in the Left or Right position.
Step 4: Use Understandable Fonts
Download some readable cool fonts
that you may use in adding text to your design.
Just always make sure that it is clear and understandable.
You can also add effects to the font
Step 5: Rearrange or Reposition the Photos
If you are not satisfied with the arrangement of the photos in the design, you may also transfer it, in any way you like or want.
Step 6: Add Glow or Outline in the text
Always make sure that all of the text in the tarpaulin design is clear. Just to make sure that is understandable. You may also add a white glow in the text.
Step 7: Save your Work
This is the one thing that you should not forget. This is the most important (LOL). If you think that your design is good enough. Then, you should save it.
I hope you guys like my sample Barbie Tarpaulin design. And I hope, I give you some tips and tricks on how to make your own unique design.
If you have any questions you can freely send me an e-mail. Or you may leave a comment down here. You may also send me a message to the Official Facebook page of this site. You may find it on the Contact Page. And I guarantee that I will respond to your message as soon as I read your email.